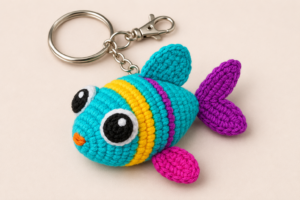
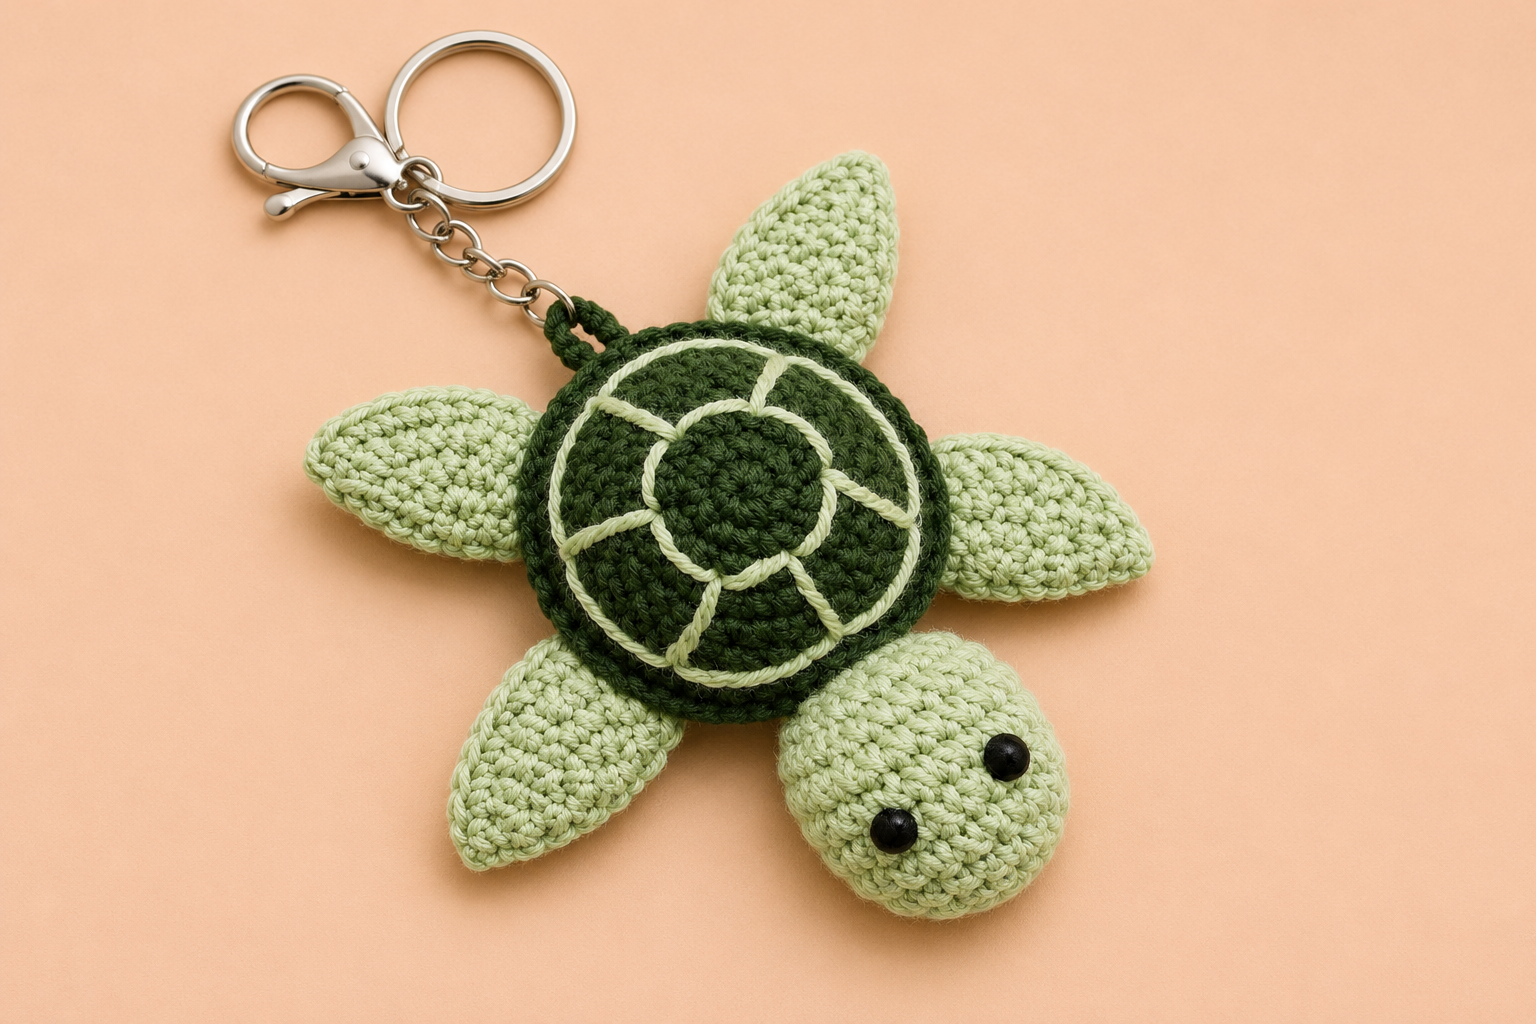

A forest-green shell, pale sage flippers, and six embroidered shell sections give this little sea turtle its character. Two crocheted discs form the shell. A shallow side wall gives the top room to curve, while a flat underside keeps the keychain compact.
Pattern status. This original pattern was drafted from the supplied design reference and has yet to be test crocheted. The cover is an AI-generated illustration of the intended look.
Jump to the free crochet pattern ↓
Project Overview
| Detail | Pattern information |
|---|---|
| Skill level | Confident beginner comfortable with working in the round and sewing small pieces |
| Terminology | US crochet terms |
| Construction | Domed shell top, flat underside, round head, four flat flippers, and a reinforced loop for the hardware |
| Finished size | Depends on yarn and tension. The shell edge has 36 stitches. Finished dimensions have yet to be measured. |
Materials and Tools
- Sport-weight cotton in forest green for the shell and loop and pale sage green for the underside, head, flippers, and shell embroidery.
- A small amount of black embroidery floss or smooth black yarn for two eyes.
- A 2.5 mm crochet hook as a starting point, a locking stitch marker, a blunt yarn needle, and scissors.
- A small amount of polyester fiberfill and a split key ring with a short chain or clip with a closed connector.
Use a hook that gives you firm single crochet stitches without making them difficult to work into. Gently stretch your fabric to check for gaps before you make the stuffed pieces.
Abbreviations and Pattern Notes
| Abbreviation | Meaning |
|---|---|
| MR | Magic ring |
| sc | Single crochet |
| inc | Work 2 sc in the same stitch |
| inv dec | Insert the hook through the front loops of the next 2 stitches. Yarn over and pull through those loops, then yarn over and pull through the two loops remaining on the hook. |
| Rnd / Rnds | Round / rounds |
| st / sts | Stitch / stitches |
Work in continuous rounds. Mark the first stitch and move the marker up after each round. Repeat the instructions in brackets the stated number of times. The number in parentheses is the stitch count at the end of the round.
Free Sea Turtle Crochet Keychain Pattern
1. Crochet the Shell Top and Underside
Make the shell top in forest green and the underside in pale sage. Follow Rnds 1–6 for both pieces. Work Rnds 7–8 on the shell top only.
- Rnd 1. Work 6 sc in MR. (6)
- Rnd 2. Inc in each st. (12)
- Rnd 3. [Sc, inc] 6 times. (18)
- Rnd 4. [2 sc, inc] 6 times. (24)
- Rnd 5. [3 sc, inc] 6 times. (30)
- Rnd 6. [4 sc, inc] 6 times. (36)
- Rnds 7–8, shell top only. Sc in each st. (36 per round)
Fasten off the underside after Rnd 6. Fasten off the shell top after Rnd 8, leaving a long tail for joining. Keep both pieces open and weave in their starting tails.
2. Embroider the Shell Segments
- With pale sage yarn, outline a small circle near the outer edge of Rnd 3 using short backstitches. Follow the curve and close the circle where you started.
- Make a second circle near the outer edge of Rnd 5. Leave the outside round and side wall in plain forest green so the shell has a dark border.
- Mark six evenly spaced points on the outer circle. As a starting guide, use every fifth stitch on Rnd 5. Stitch a short line from each mark toward the nearest point on the inner circle. Keep the stitches relaxed so the shell stays smooth.
- Secure and weave in the embroidery ends on the underside of the shell top while it is still open.
3. Crochet the Head
Use pale sage. The magic ring starts at the tip of the head, and the final round sits against the shell.
- Rnd 1. Work 6 sc in MR. (6)
- Rnd 2. Inc in each st. (12)
- Rnd 3. [Sc, inc] 6 times. (18)
- Rnd 4. [2 sc, inc] 6 times. (24)
- Rnds 5–7. Sc in each st. (24 per round)
- Rnd 8. [2 sc, inv dec] 6 times. (18)
- Rnd 9. [Sc, inv dec] 6 times. (12)
- Rnd 10. Inv dec 6 times. (6)
Before working Rnd 8, choose the side that will face up alongside the shell. Mark two eye positions around Rnds 4–5, about four stitches apart, then embroider a small black oval at each mark. Secure the ends inside. Begin stuffing after Rnd 8 and add a little more before the last round. Fasten off with a long sewing tail. Pass the tail through the front loops of the last 6 stitches, draw closed, and keep the tail for attaching the head.
4. Crochet Four Flippers
Make two front flippers and two rear flippers in pale sage. Start each piece at the narrow tip. The front pair sits beside the head and is slightly larger.
| Round | Front flippers, make two | Rear flippers, make two |
|---|---|---|
| 1 | 6 sc in MR. (6) | 6 sc in MR. (6) |
| 2 | [Sc, inc] 3 times. (9) | [Sc, inc] 3 times. (9) |
| 3 | [2 sc, inc] 3 times. (12) | Sc in each st. (9) |
| 4–5 | Sc in each st. (12 per round) | Sc in each st. (9 per round) |
| 6 | Sc in each st. (12) | Finish after Rnd 5. |
Fasten off with a sewing tail on each flipper. Flatten the pieces without stuffing and pinch each open edge together. Catch both layers of that edge when sewing. Ease the odd stitch count of each rear flipper into one corner of its folded base.
How to Assemble the Sea Turtle Keychain

- Join the shell. Place the two discs with their wrong sides facing. Line up the 36 stitches on each edge. With the forest-green tail, whipstitch through one stitch of each piece at a time. When a small gap remains, add thin tufts of filling so the top rounds out gently. Sew the remaining stitches and bury the tail.
- Position the head and flippers. With the embroidered shell facing up, picture a clock. Pin the head at 6 o’clock with the eyes facing up, the front flippers at about 4 and 8 o’clock, and the rear flippers at about 2 and 10 o’clock. Angle the front flippers outward and slightly toward the head. Angle the rear flippers toward the keyring end.
- Sew on the head. Center the closed end against the shell seam. Pass through stitches just around the head closure and through nearby stitches on the shell rim. Work around the contact area so the head does not rotate easily. Secure the sewing tail and bury it.
- Attach the flippers. Sew each flattened base to the rim, catching both flipper layers and several shell stitches. Pass back along the base to secure it. Compare the left and right sides before burying the tails.
- Add the hardware. At 12 o’clock, thread a doubled strand of forest-green cotton through the closed connector and around three adjacent shell rim stitches. Repeat for three passes, leaving just enough slack for the connector to move. Tie the ends securely and bury them into the shell. Give the hardware a gentle tug and check that the shell hangs without tipping to one side.

Troubleshooting
| If you notice | Try this |
|---|---|
| The shell embroidery pulls the fabric inward | Shorten each backstitch and loosen the thread until the embroidered lines rest on the surface. |
| The seam puckers or one disc looks larger | Mark four evenly spaced points on both edges before joining. Match the markers and check that each section contains nine stitches. |
| The flippers curl inward | Flatten them with your fingers and pin the angle first. Catch both corners of each folded base when sewing. |
| The head points down when the turtle lies flat | Move the attachment a little higher on the rim and check the face from above before securing the seam. |
Frequently Asked Questions
Can I use worsted-weight cotton?
Yes. Choose a hook that makes a tight fabric. Expect a larger turtle and check that the ring or clip looks proportionate before sewing on the loop.
Can I make the shell flat?
Yes. End both discs after Rnd 6, embroider the top, then join the 36-stitch edges. Leave out the filling or use a thin layer for a slight dome.
Can I leave off the metal ring?
Yes. Omit the attachment loop for a small display amigurumi. For a hanging ornament, replace the hardware with a yarn loop anchored through several rim stitches.